About this deal
Some reports that mice chew through the foam; may need more than 1 application for bad infestations
Expanding Spray Foam Insulation Brilliant DIY Uses for Expanding Spray Foam Insulation
This is different from cure time, which is the amount of time that the foam should rest before the area is fully set and hardened. You should not make any changes to the expanding foam before it has cured. Cure time for expanding foams is typically over 8 hours, depending on the product variety. Spray paint: For larger surface areas, spray paint will be much easier and allows for an even finish. Because foam can still look fairly uneven, the spray paint easily coats any bumps and ridges without clumping. For larger areas, consider investing in a spray gun (especially if you’ll be working on multiple projects). Spray cans are easy to use. The can comes premixed so there is no wait time before the expanding foam can be applied. These products may also come with a long, narrow dispenser that connects to the nozzle, allowing the foam to be injected into very small gaps with precise accuracy. However, only low-expansion foam comes in a spray-can format. Expanding foam is simple to paint, but carefully following these steps will allow you to achieve the most finished look for long-lasting results. It is also completely safe to do as long as you are using personal protective equipment. Careful application of the foam and finishing beforehand will make the foam easier to paint and blend into nearly all surface applications. Can You Paint Expanding Foam? These foam areas will now be properly sealed and look great. If you need to do any touch-ups, you can add more foam and then repeat the steps above. What is Expanding Foam Used For?Be Patient: Your expanding foam may also have imperfections on the surface, especially if you did not fully sand. When applying a heavy first coat, it will be difficult to fully dry and will result in a ‘pooled look’ once it does dry. Patience on the first coat will make it easier to add more layers and give you the full coverage you are looking for. This fire-resistant expanding foam fills gaps greater than 1 inch in width, creating an airtight, water-resistant seal. It dries in 15 minutes; when it fully cures in 4 hours, it can be sanded, painted, or stained. The low expansion foam repels insects and other pests, protecting the home from infestations. Let up on the trigger slowly to release pressure in the straw and prevent spurts during the next use and to achieve the most consistent bead.
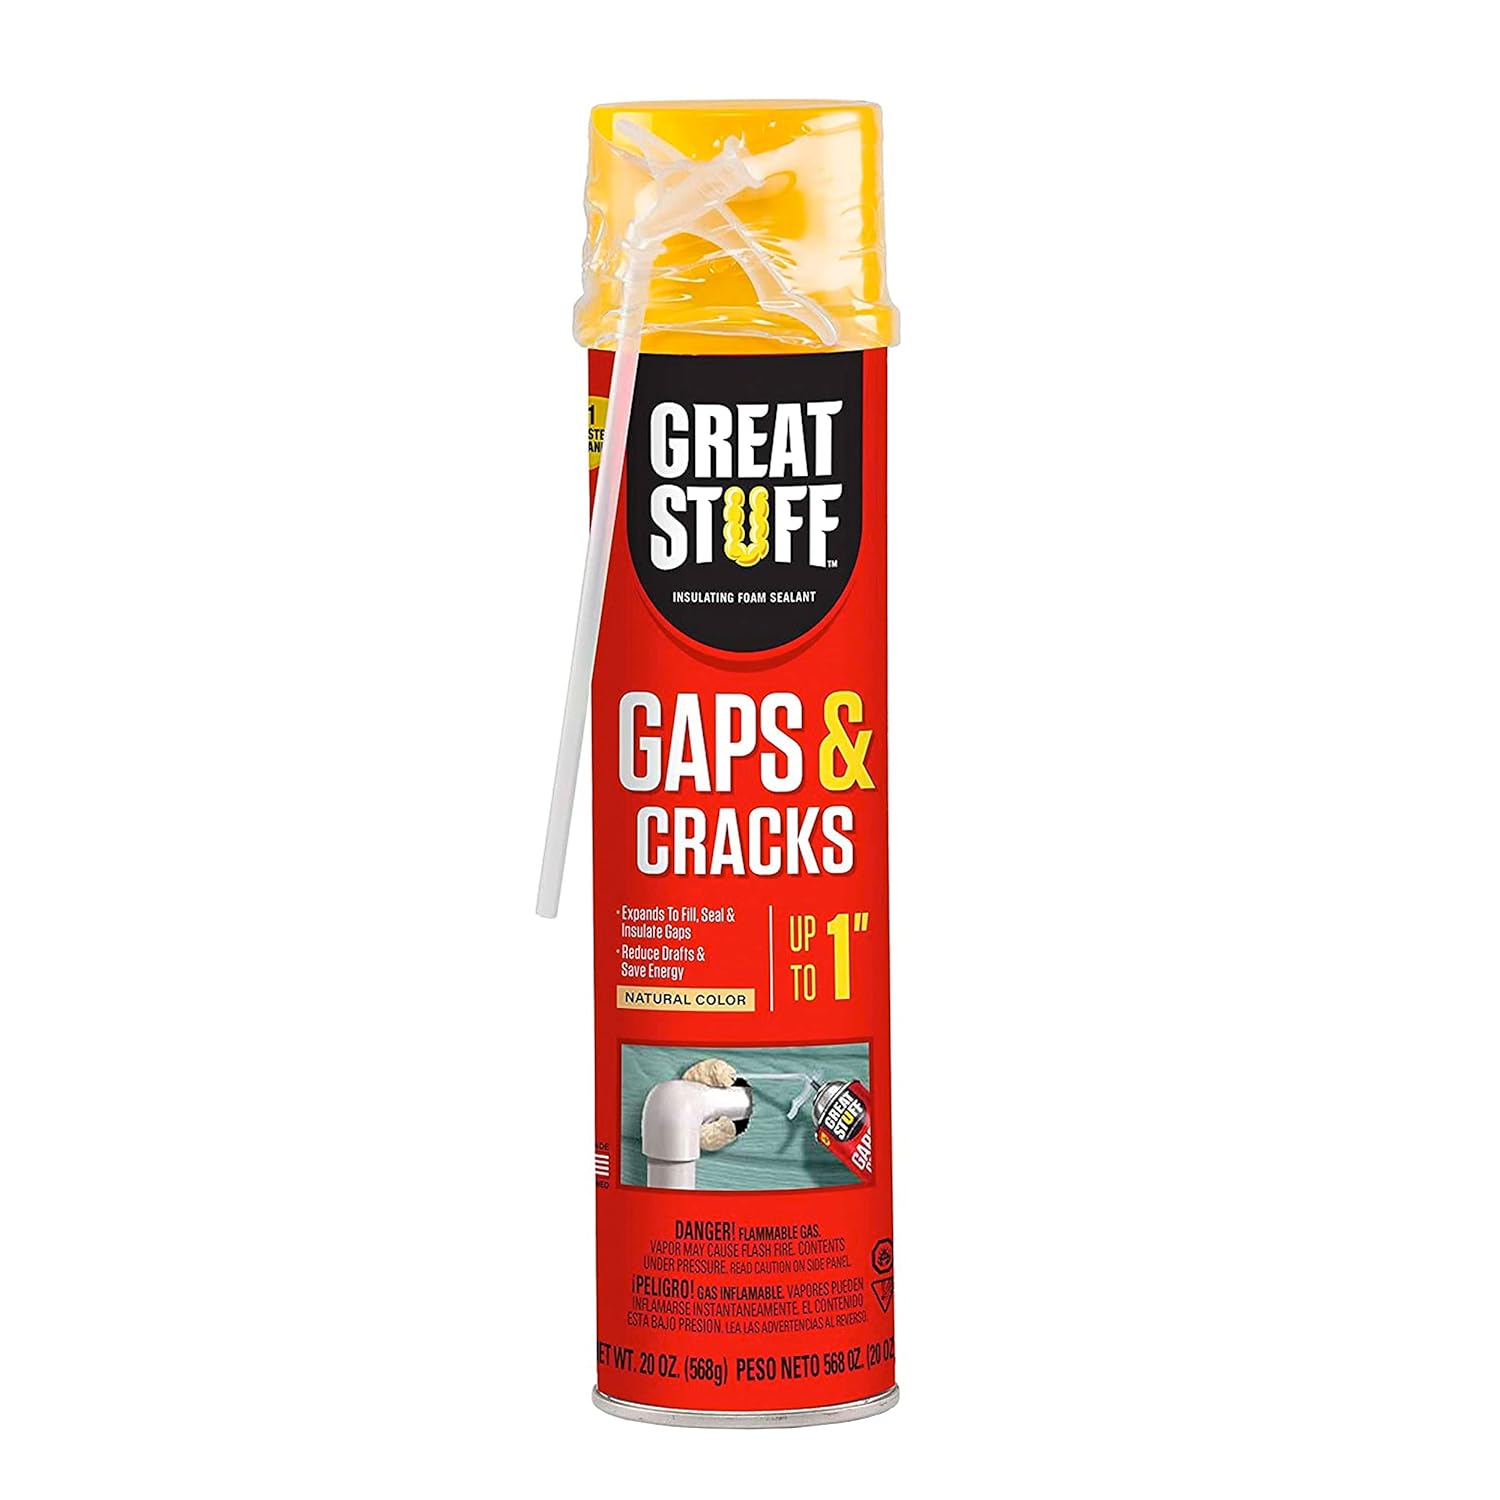
GREAT STUFF 16 oz. Gaps and Cracks Insulating Spray Foam GREAT STUFF 16 oz. Gaps and Cracks Insulating Spray Foam
Thread the SMART DISPENSER™ onto the valve until it is secure, ensuring there is no gap between the dispenser and the valve. Cut away from your body: If possible, cut in a direction away from you so that if there is a section that requires more force, it won’t jerk towards you and cause possible injury.Always inspect the area where the insulation will be applied before installation. Older homes and homes with wooden shingles may be built with a design that allows the natural evaporation of excess moisture. Insulation installed in these areas acts as a sponge, soaking up the moisture instead of allowing it to dissipate. As moisture builds up, mold can grow and eventually rot out the wood. After you’ve fully prepared the cured expanding foam, it’s time to look at starting the painting process. Choosing an appropriate paint will depend on the location of the foam, whether that be interior or exterior applications. Exterior paints will be more durable for varying weather conditions. The composition of the paint also matters, so it doesn’t compromise the foam. You can find water-based acrylics and latex paints in both spray paint and canned paint forms. All of the application methods are compatible with these types of paint. Try to use a flat paint as ones that are much glossier will point out imperfections and bumps much more easily. 5. Apply First Coat of Paint to Expanding Foam Its bright orange color makes this expanding foam easy to identify, and it adheres to most building materials, sealing and insulating gaps up to 1 inch in size. It comes with a long straw dispenser for better control and precise application. It dries to the touch in just 15 minutes; however, it takes a full hour until it can be trimmed or sanded.
Great Stuff™ Insulating Foam Sealant: Save Money and Improve
Smooth strokes: Try to smoothly cut along the surface to disrupt the filled area as little as possible. This will also make it easier to finish with sandpaper. Serrated edges on knives can help to cut through the foam more easily. For painting expanding foam, you should only be working with latex or water-based acrylic paints. These will adhere more successfully and protect the foam from additional damage. Many outdoor applications recommend painting even if you don’t plan to for additional durability. Do not use solvent or oil-based based as they will break down and destroy the foam.After sanding, you are likely to be left with a lot of dust and debris. Not only is cleaning the nearby area important, but you will need to clear the surface of the foam for the best paint adhesion. You can do this in a variety of ways for successful clearing. For waterproof expanding foam, wipe the area down with a damp cloth to remove extra debris and then let dry.
 Great Deal